How to choose garage shelving
Bin sizes, access, and assembly requirements matter more than the product photo.
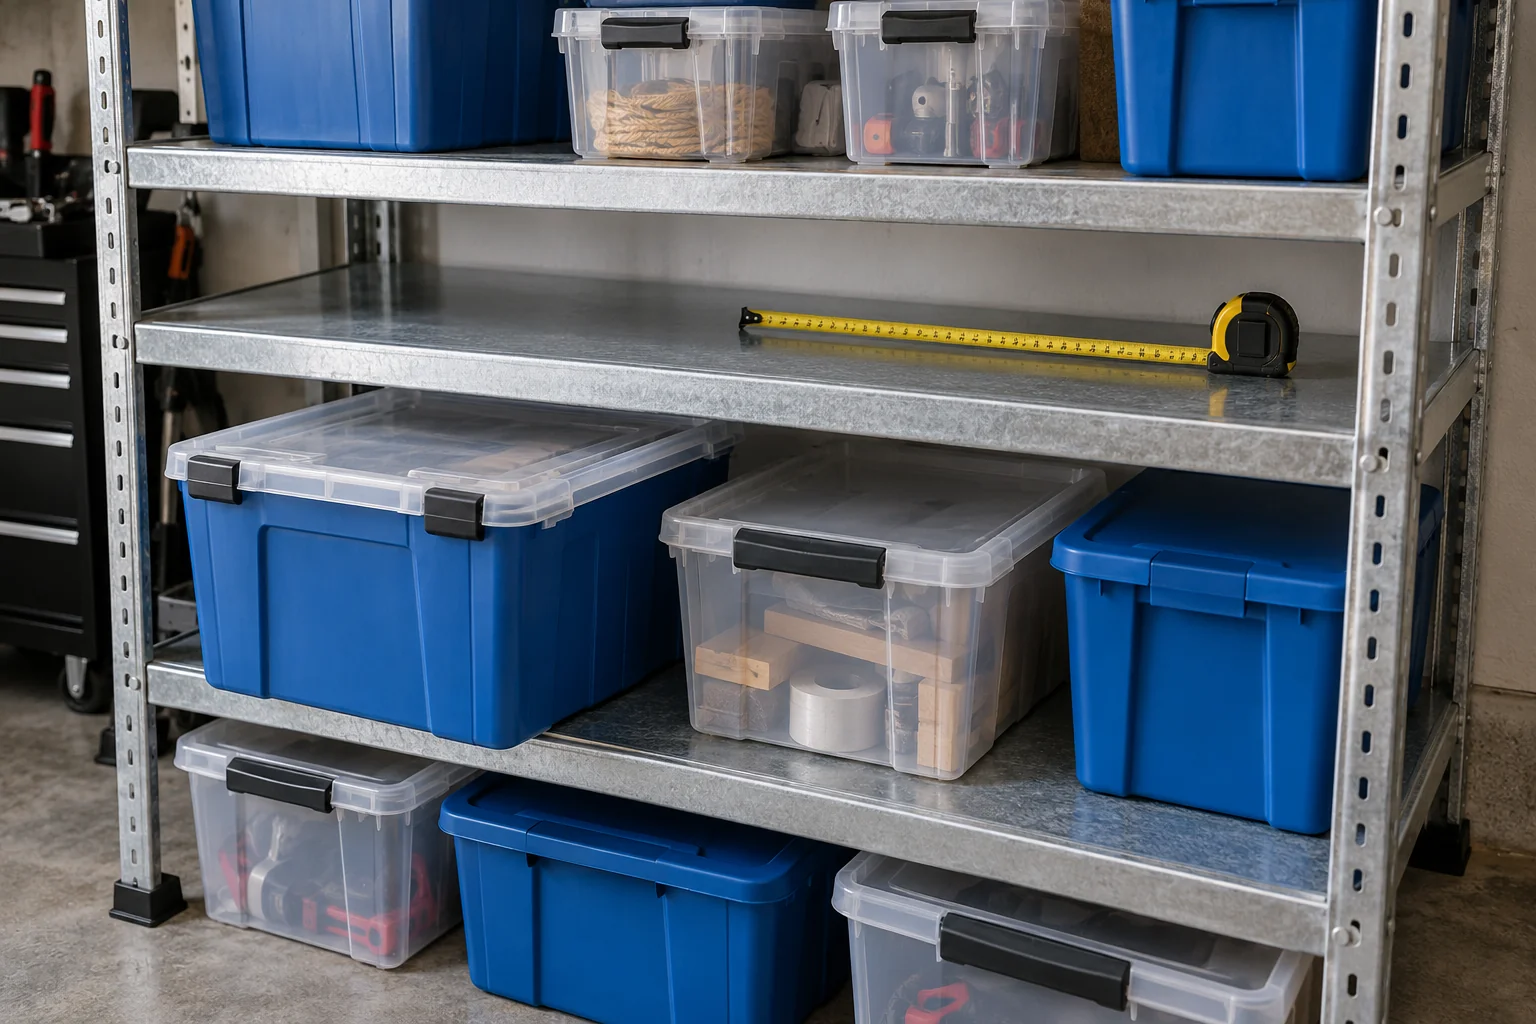
The right garage shelf is the one that accommodates your actual belongings without making them difficult to retrieve. Before comparing finishes or advertised capacities, collect the largest containers and awkward items you want to store. Measure the available space and the items separately. A shelf can fit the wall perfectly while its internal openings are too small for your boxes, or its depth makes the back half hard to use.
Measure the usable space, not only the wall
Record the width, depth, and height available after allowing for doors, vehicles, switches, and equipment that needs access. Check the floor where the feet will sit and note obstructions at different heights. Then measure the internal shelf openings you need, including room to lift a lidded bin out. Mark the proposed footprint with removable tape and walk around it while carrying something bulky. Look for manufacturer assembly drawings rather than assuming the outside dimensions describe the usable storage space. Keep these measurements with your shopping notes.
Match the shelf to the load and environment
List the heavy items separately from lightweight seasonal supplies. Read both the per-shelf and whole-unit limits, along with any requirements for evenly distributed loading, assembly, and anchoring. Do not treat a capacity number as permission to place one concentrated load anywhere. Choose a surface that supports the shape of your belongings; small feet and narrow containers can behave differently on open wire and solid decks. Consider the garage conditions described by the manufacturer, including moisture exposure. Put heavier items low and follow the product’s anti-tip instructions.
Plan the first loading before ordering
Sketch which category goes on each level. Put frequently used supplies where they can be retrieved easily, and reserve less convenient spaces for genuinely occasional items. Check whether adjustable levels can be changed after assembly and whether spare shelves or feet are available. Include delivery, assembly hardware, and any required mounting work when comparing total cost. Once installed, load gradually and check stability according to the instructions. Label the shelf positions as well as the bins so an empty space still tells the next person where an item belongs.
Before you begin
- Measure the planned footprint.
- Measure full bins including lids.
- Read load-distribution conditions.
- Check required anti-tip installation.
- Assign contents to each level.
Buy storage capacity you can comfortably access. A slightly smaller unit that leaves a clear route and fits your containers can be more useful than a larger shelf that turns every retrieval into a rearrangement.
CPSC: preventing furniture tip-overs
Plan your project with Remendia