How to choose woodworking clamps
Understand the fit before filling a wall with clamps.
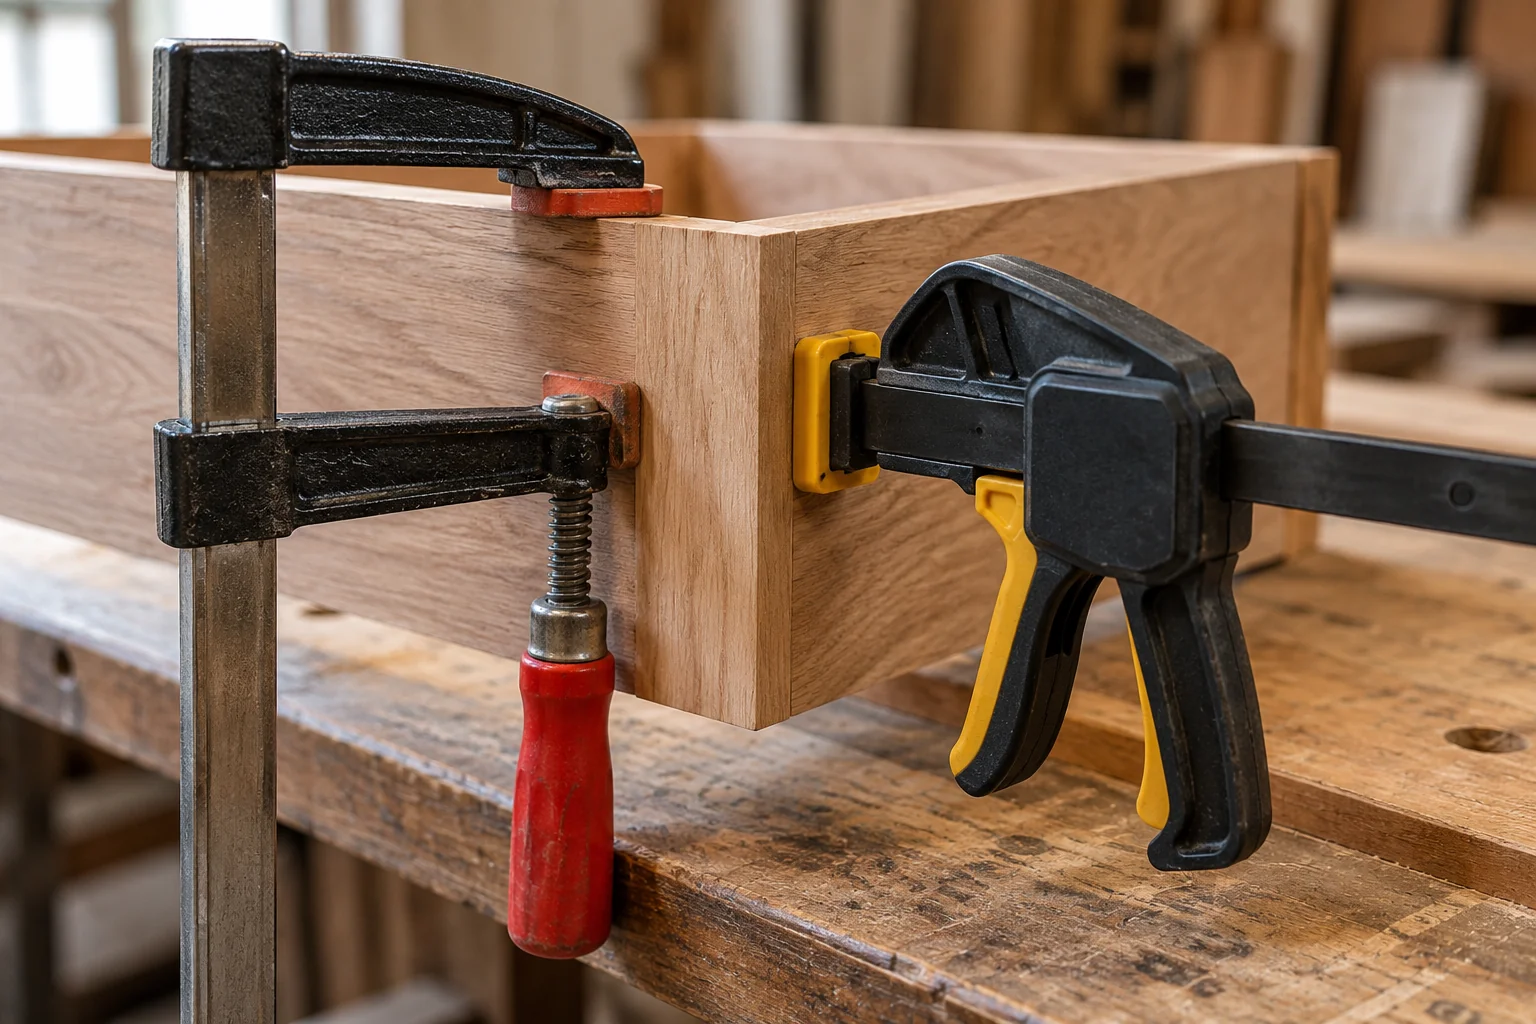
Clamps look simple until the workpiece, bench edge, and handle all need to occupy the same space. Start by describing what must be held and where the contact points belong. Opening capacity is only one part of the decision; throat depth, jaw shape, pad material, and access also affect whether a clamp can do the job. Plan the arrangement before glue or another time-sensitive material enters the picture.
Identify the job and contact points
Sketch the pieces in their assembled position and mark where holding pressure is needed. Measure both the distance between contact points and how far those points sit from an accessible edge. Check the clamp manufacturer’s terminology; BESSEY distinguishes opening capacity from throat depth in its guidance. Consider whether the jaws can sit squarely on the surfaces and whether a handle has room to turn. For delicate surfaces, use the manufacturer’s recommended protective approach. Avoid choosing a clamp only because its nominal length is greater than the overall width of the project.
Dry-fit the entire arrangement
Set up the parts and clamps before starting the actual assembly. Make sure you can reach the fasteners or joint areas while everything is held, and confirm that the assembly remains supported on the bench. Check for interference between neighboring clamps. Read the clamp’s intended-use and force guidance instead of assuming more tightening will fix a poor arrangement. Clamps are workholding tools, not substitutes for rated lifting or permanent structural equipment. If a component slips or tilts during the rehearsal, change the support and contact arrangement before proceeding.
Buy a useful group and keep it ready
Choose a small group that covers your immediate project rather than a large assortment of unrelated sizes. Record which opening and reach worked so you can add compatible tools later. Keep pads and moving parts in the condition specified by the manufacturer, and remove residue using its recommended method. Inspect clamps before a project and set aside damaged examples. Store them where their size is visible and where retrieving one does not bring several others down. A clear storage position also helps you see whether a clamp is still attached to unfinished work elsewhere.
Before you begin
- Sketch the contact points.
- Measure opening and throat requirements.
- Check jaw and handle clearance.
- Rehearse the complete assembly.
- Inspect pads and moving parts.
The right clamp fits the work, reaches the joint, and leaves you room to finish the operation. A successful dry fit is stronger evidence than a large advertised force number or an impressive collection on the wall.
BESSEY: clamping tool questions and guidance
Plan your project with Remendia