How to plan your first woodworking project
Choose a useful object, simplify its parts, and settle the details before cutting.
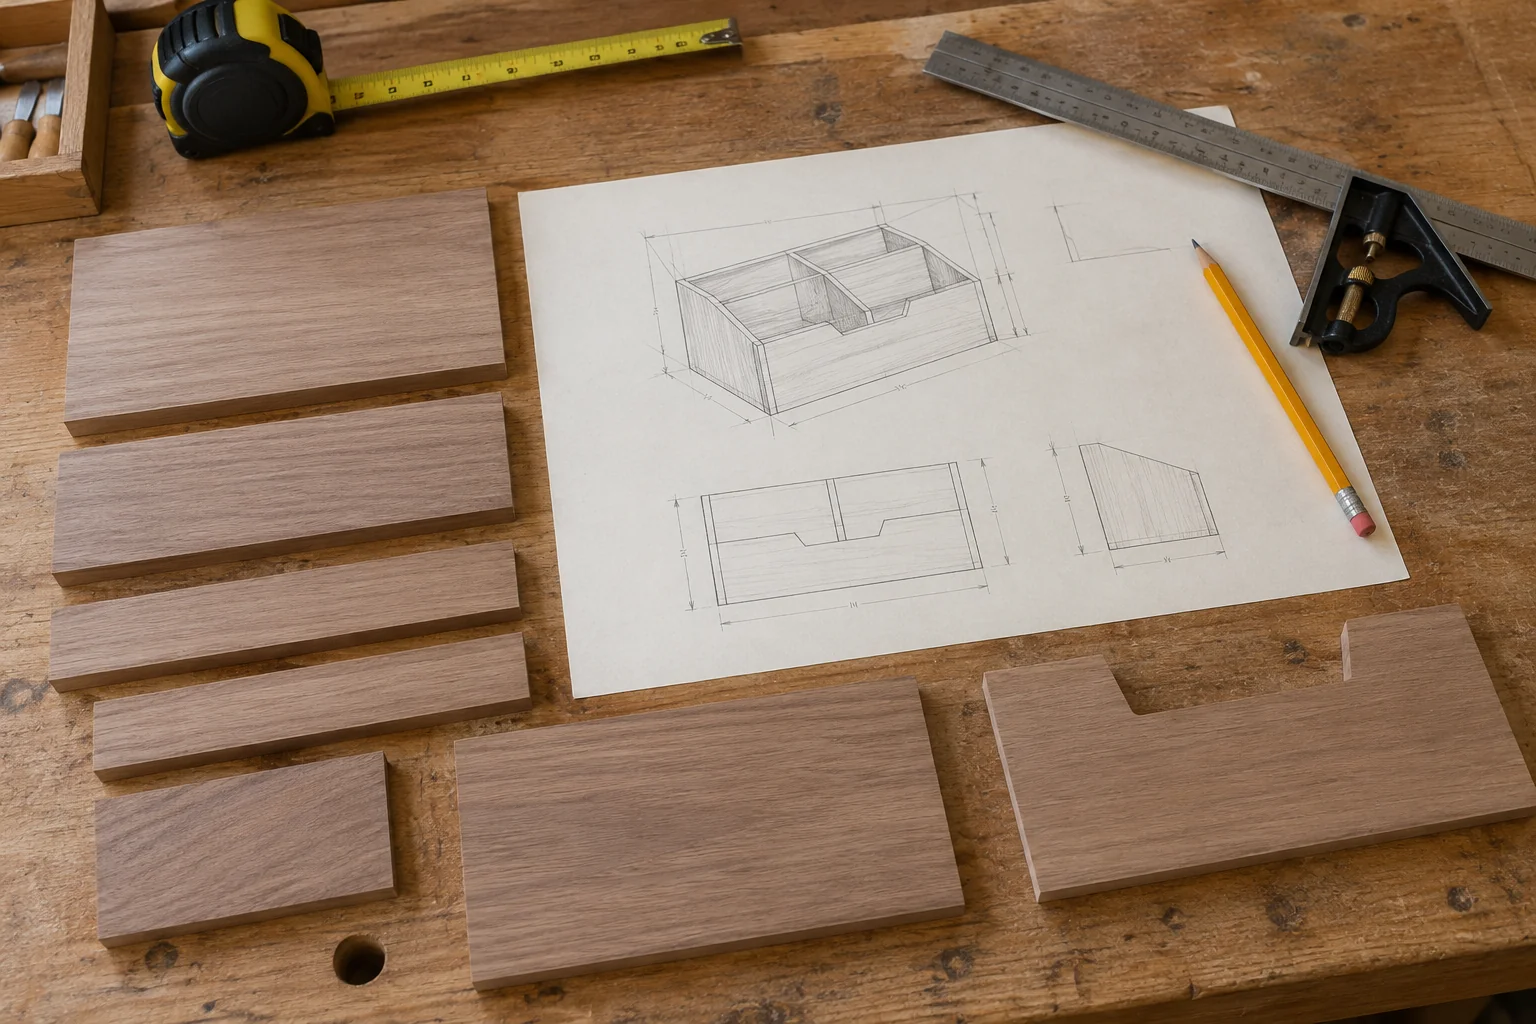
A first project should teach you how to move from an idea to a finished object without asking you to learn every woodworking technique at once. Choose a modest non-structural item such as a desktop organizer or a simple display tray. Avoid beginning with something that must support a person or carry a critical load. The most important early skill is turning an attractive picture into a clear, achievable sequence.
Define the job the object will do
Measure the things the object needs to hold and the space where it will live. Make a cardboard mockup to test proportions and access before committing to wood. Write down the features that are essential and remove purely decorative complications from the first version. Decide which faces will be visible and how edges should feel in use. A picture can communicate style, but it does not replace dimensions or a suitable construction plan. Select a reputable beginner plan that matches the tools and skills you already have, or get guidance before inventing unfamiliar joints.
Turn the design into a materials plan
List each component with its final dimensions and quantity, then confirm how it will be obtained or prepared. Keep actual material dimensions separate from the names used in a shop listing. Account for the preparation and allowances described by the plan rather than assuming every supplied piece is ready to assemble. Choose fasteners, adhesive, and finish suited to the material and intended use, following their instructions. Include practice pieces and a small finish sample. A finish that looks appealing on a website may behave differently on the wood you actually purchased.
Sequence the work and check early
Arrange the steps so you can test fit before irreversible operations. Label components discreetly, rehearse assembly, and confirm that the relevant tools and clamps fit the setup. Schedule finishing and curing according to the product directions; a surface that feels dry may not be ready for its intended use. Follow tool instructions and appropriate controls for dust and finishing products throughout the process. At the end, compare the object with the original practical goal. Write down one technique to repeat and one detail to improve on a future version.
Before you begin
- Choose a small non-structural object.
- Test proportions with cardboard.
- Write a component and materials list.
- Rehearse assembly before committing.
- Allow the specified finishing and curing time.
Finishing a straightforward object teaches more than abandoning an ambitious one. Keep the first version useful and manageable, and let the lessons from making it guide the next project rather than expanding the design halfway through.
OSHA: woodworking hazards and solutions
Plan your project with Remendia